QUALITY HYDRAULIC HOSES, FITTINGS & ADAPTORS

🔧 This article is part of the FluidForce NZ Hydraulic Hose How-To & Troubleshooting Guides.
Explore step-by-step instructions, fitting advice, and safety best practices at our Hydraulic Hose How-To Hub.

How to Build a Hydraulic hose assembly

Building a hydraulic hose assembly correctly is vital for safety, reliability, and performance. Whether you’re replacing a worn line or custom-building for a new application, the process requires the right tools, fittings, and care.

You’ll need:
Hydraulic hose rated for your system’s pressure
Correct fittings (male/female, JIC, BSP, ORFS, etc.)
Crimp ferrules or reusable ends
A calibrated crimping machine
Hose cutting and cleaning tools
PPE (gloves, safety glasses)

Measure the required hose length, accounting for movement and bend radius.
Use a dedicated hose saw to ensure a clean, square cut.
Avoid frayed reinforcement – uneven cuts can cause leaks or fitting blow-offs.

  • Use a projectile or compressed air system to remove debris.
  • Always cap hose ends immediately after cleaning.

Lubricate the fitting insert lightly with clean hydraulic oil.
Insert the fitting fully and ensure correct alignment before crimping.

Set the crimp machine to the manufacturer’s specifications.
Measure and confirm the crimp diameter after completion.
Label or tag the assembly if required.

Check for leaks, twists, or misalignment.
Pressure test to 1.5× the working pressure (as per ISO 1402 or SAE J517 standards).
Record the test for maintenance documentation.

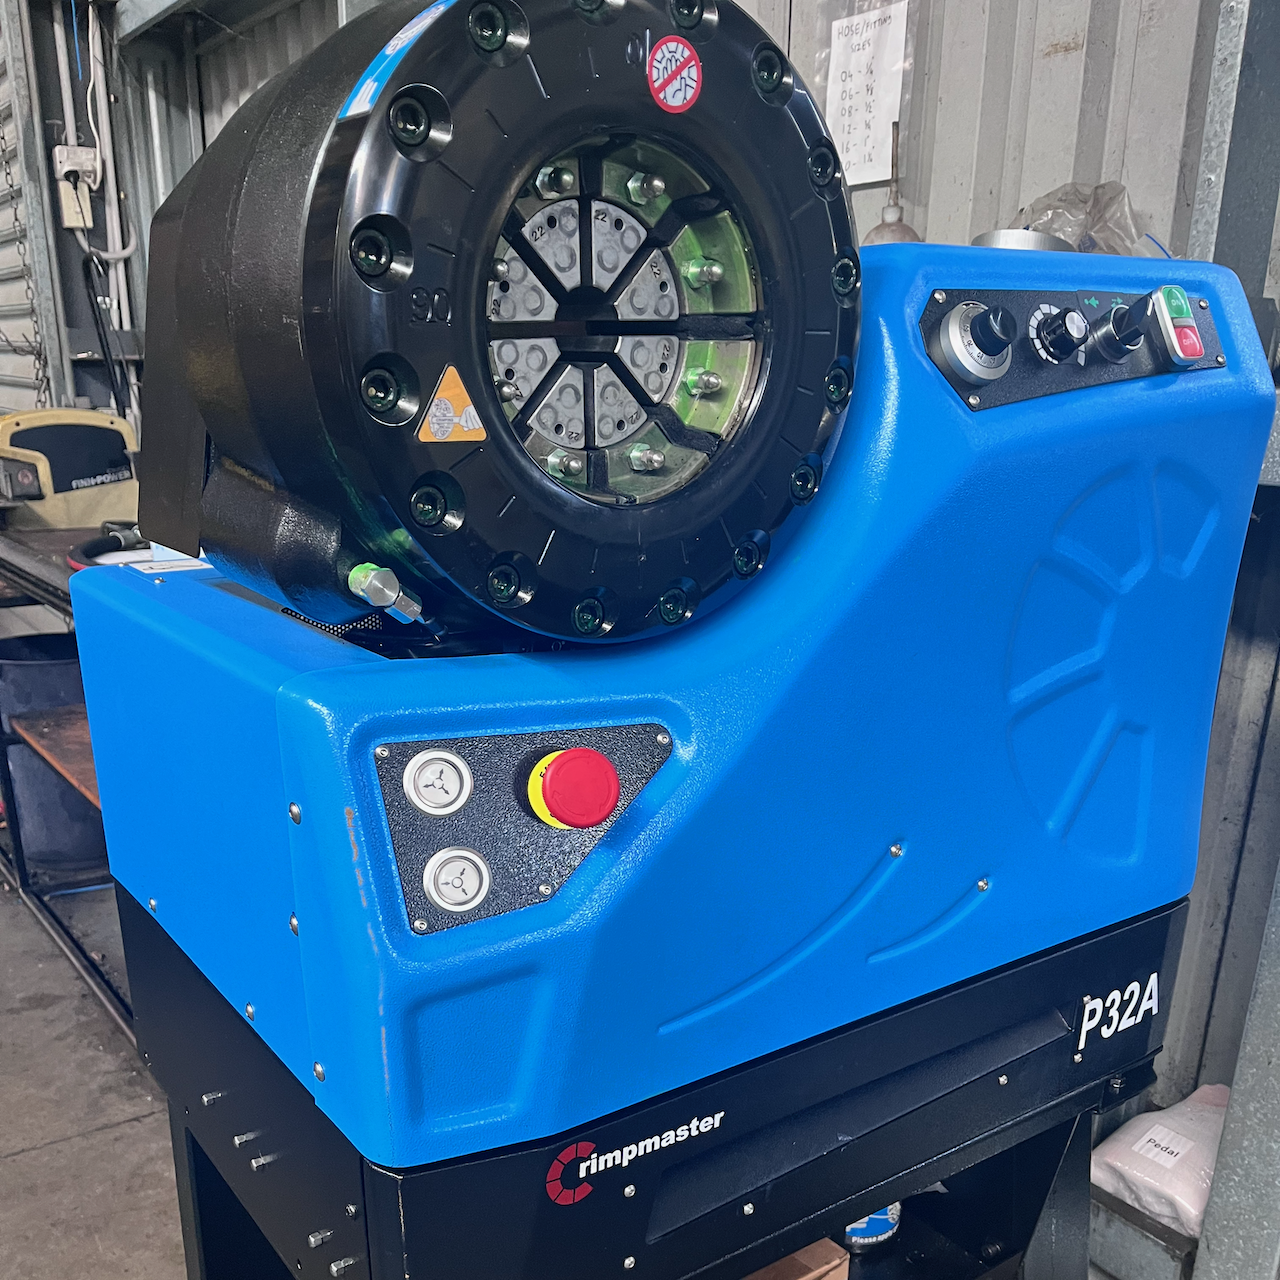
Building a hydraulic hose is a technical and specialised job. We can take the hassle out of hose repair, by assembling custom hose for you at our Silverdale Warehouse.

Need more help?

If you can’t find the information you need, or want help with your specific set up, get in touch.

Home » hydraulic hose how-to hub » Hose Assembly & Maintenance » How to Build a Hydraulic Hose Assembly